

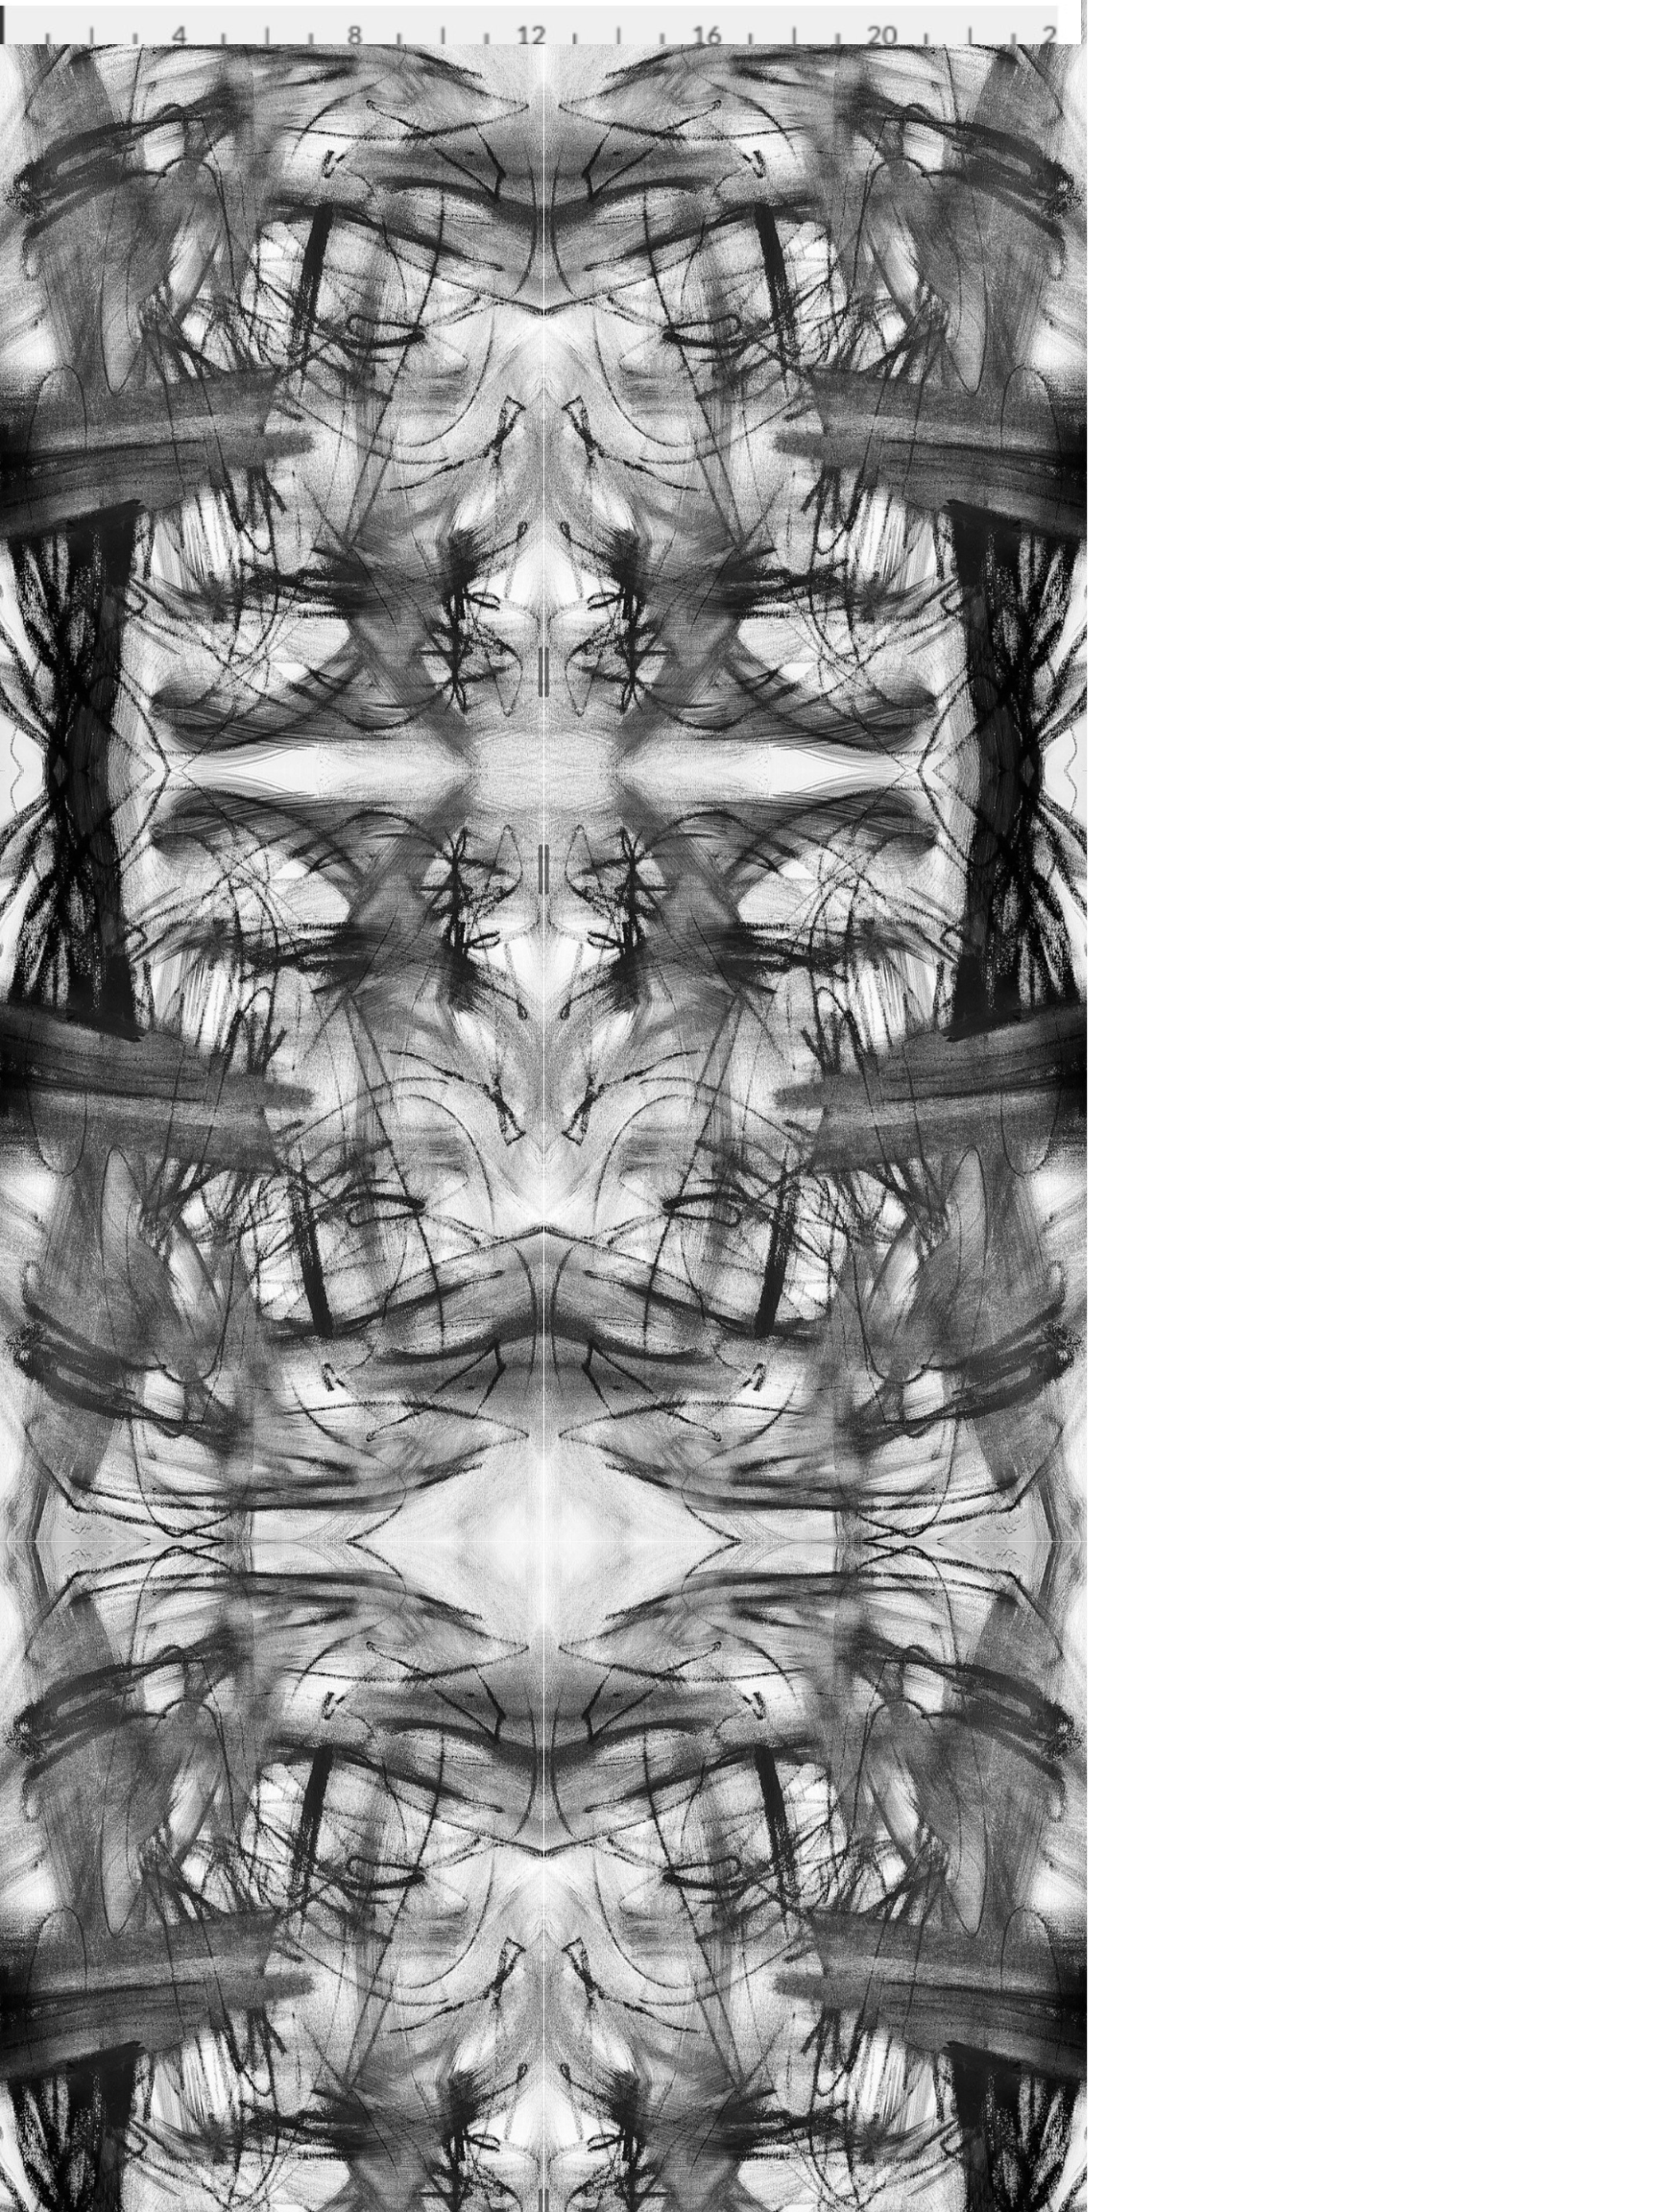

Feral Wallpaper in Black
Medium: 24”x9’ prepasted smooth
Large: 24”x12’ prepasted smooth
(Contact for custom or mural)
Before hanging, make sure that your wall is clean, dry, and smooth. Please be sure that your walls are primed and completely dry for better installation and to ensure that any colored paint cannot be seen through your new wallpaper.
Measuring tape / Scissors / Plastic Sheeting / Pump Sprayer or Spray Bottle / Bucket / Natural Sponge / Pencil / Level / Craft Knife or Exacto Knife with extra blades / PLASTIC Wallpaper Smoothing Tool / Step Ladder (depending on height of your wall) / Work Table (optional)
Step 1. Mark Your Starting Point
Our prepasted wallpaper panels are 24” wide. Starting from the left corner of your wall, measure the width of the wallpaper panel minus a half inch (to allow for trimming on the left wall edge) and mark with a pencil.
Using a level, draw a straight vertical line up and down from your pencil mark. This line will be your guideline as to where you should line up the right side of the panel.
Step 2. Activate the Paste
Place your panel face down on a flat surface. Using an automatic pump sprayer or spray bottle, saturate the wallpaper with water to activate the adhesive.
Gently fold both ends, paste side in, towards the center of the strip, without creasing the folds. This is known as “booking”. Let your panel rest like this for 3-5 minutes. The less time your panel is booked, the stronger the bond will be to your wall. The more time you book the wallpaper, the easier it will be to remove the wallpaper.
Pro Tip: Saturate and book each panel for the same amount of time. This will ensure that you have an even application and that all panels will adhere to your wall in the same, best possible way.
Step 3. Position the First Panel
Unfold the top half of the wallpaper, leaving the bottom half of the panel booked, and position the glue-exposed portion of the top of the wallpaper on the wall. Line up the panel with your hand-drawn line, allowing for an inch on the top for trimming.
Once you are satisfied with the initial positioning, unfold the wallpaper to expose the remaining glued surface. Using a smoothing tool, smooth downward and outward from the center of the panel.
Step 4. Apply and Smooth
Repeat steps 2 and 3 for the remaining panels, making sure that you are booking your panels for the same amount of time as your other panels.
Note: If you must straighten a panel or rearrange it, you have about ten minutes to do so. The adhesive will become too strong after ten minutes. Please be sure that you are installing your panels in the correct order before you saturate the back of the wallpaper.
Tip: Do not over-smooth the paper (bubbles smaller than the size of a US quarter (about 25mm in diameter) will dissipate as the wallcovering sets.
Step 5. Trim Edges
Using a wallpaper smoothing tool and craft knife, carefully trim the top and bottom. You may need to change the blade; it is important to keep the blade edge very sharp to minimize any risk of tearing the paper.
Step 6. Smooth and Wipe
Gently hug the seams together but do not push the wallpaper too hard. Smooth out all air bubbles. Wipe with warm water and a sponge, taking care to remove all the paste from the seams.